
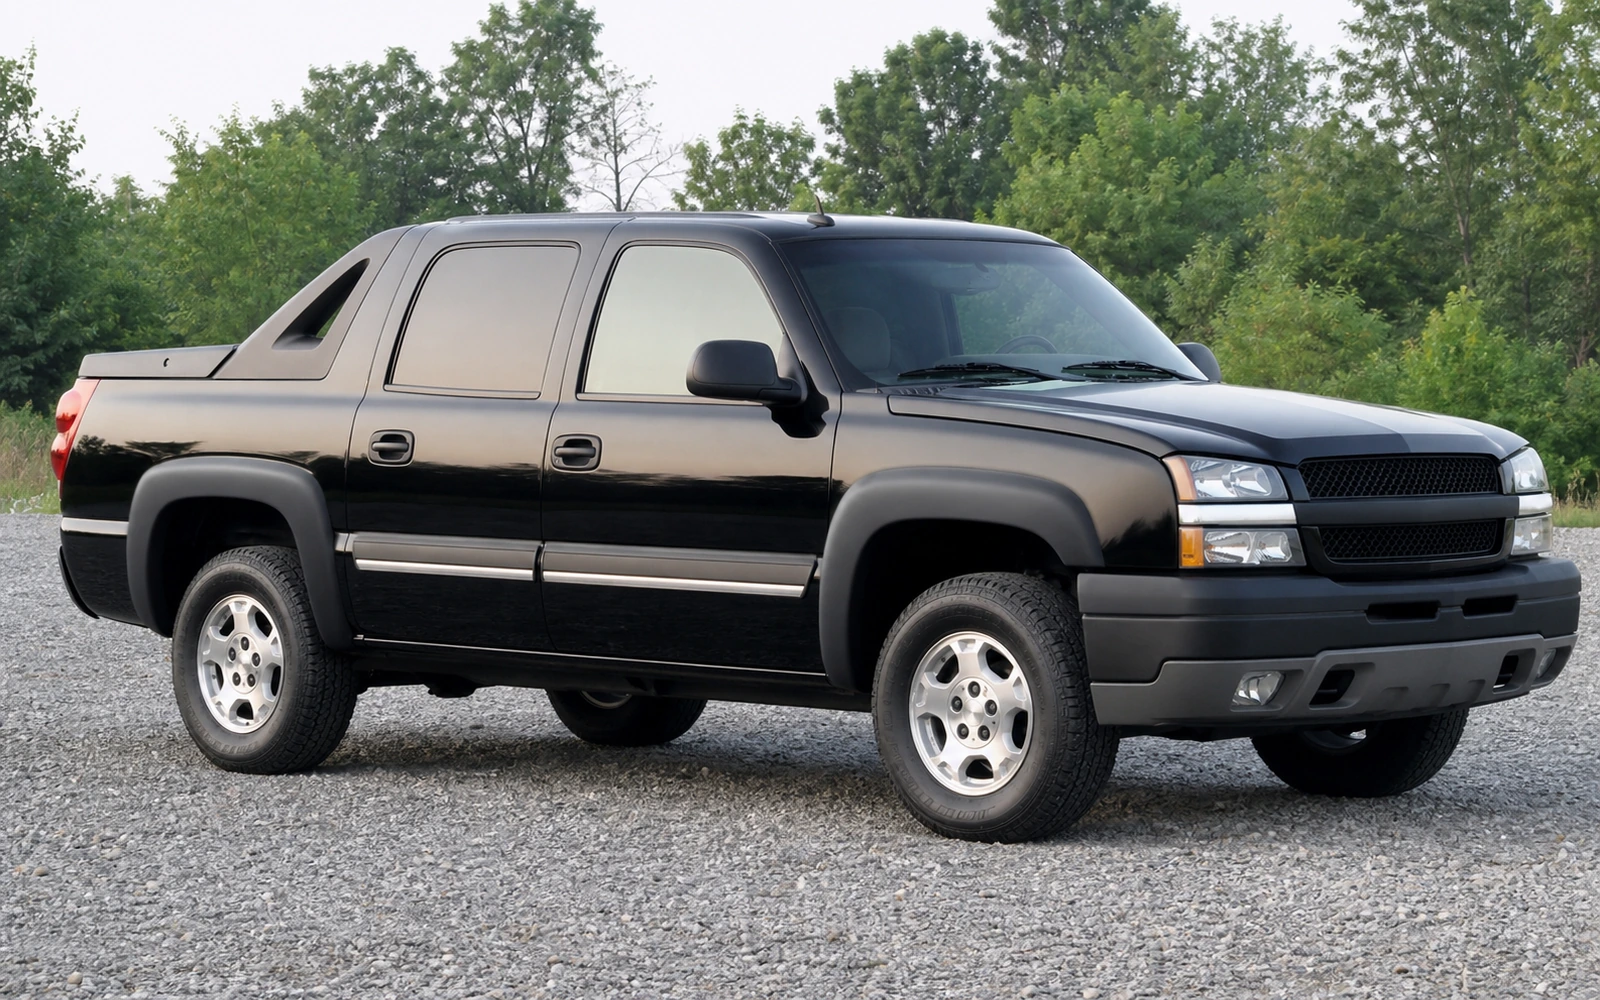
The 40920-02 set is an OE-style flare package for selected 2003-2006 Avalanche 1500/2500 trucks. It gives tire coverage and a factory-like shape without the exposed hardware of pocket-style flares.
Fitment first
What to confirm before buying
Use part number 40920-02 and the vehicle's actual body configuration as the starting point. The rebuilt catalog limits the application to selected 2003-2006 Avalanche models and calls for verification of 1500 versus 2500 and trim. The saved fitment list includes examples from both weight classes but repeatedly states without body cladding. An Avalanche wearing the large factory cladding package presents a different wheel-opening surface and should not be treated as compatible. Inspect all four arches for original molding, previous flare holes, collision work, rust repair, nonfactory bumpers, liner changes, and mismatched replacement panels. Compare the kit's front and rear shapes, not just one representative image. Also check tire position at straight ahead and steering lock. A listed flare can add coverage around the opening, but it cannot resolve unsafe wheel offset, tire-to-body contact, or a tire that extends beyond the configuration for which the part was shaped.
Product at a glance
| Part | Bushwacker 40920-02 |
|---|---|
| Pieces | 4 |
| Style | OE-style smooth flare |
| Vehicle years | 2003-2006 Avalanche |
How this accessory works in practice
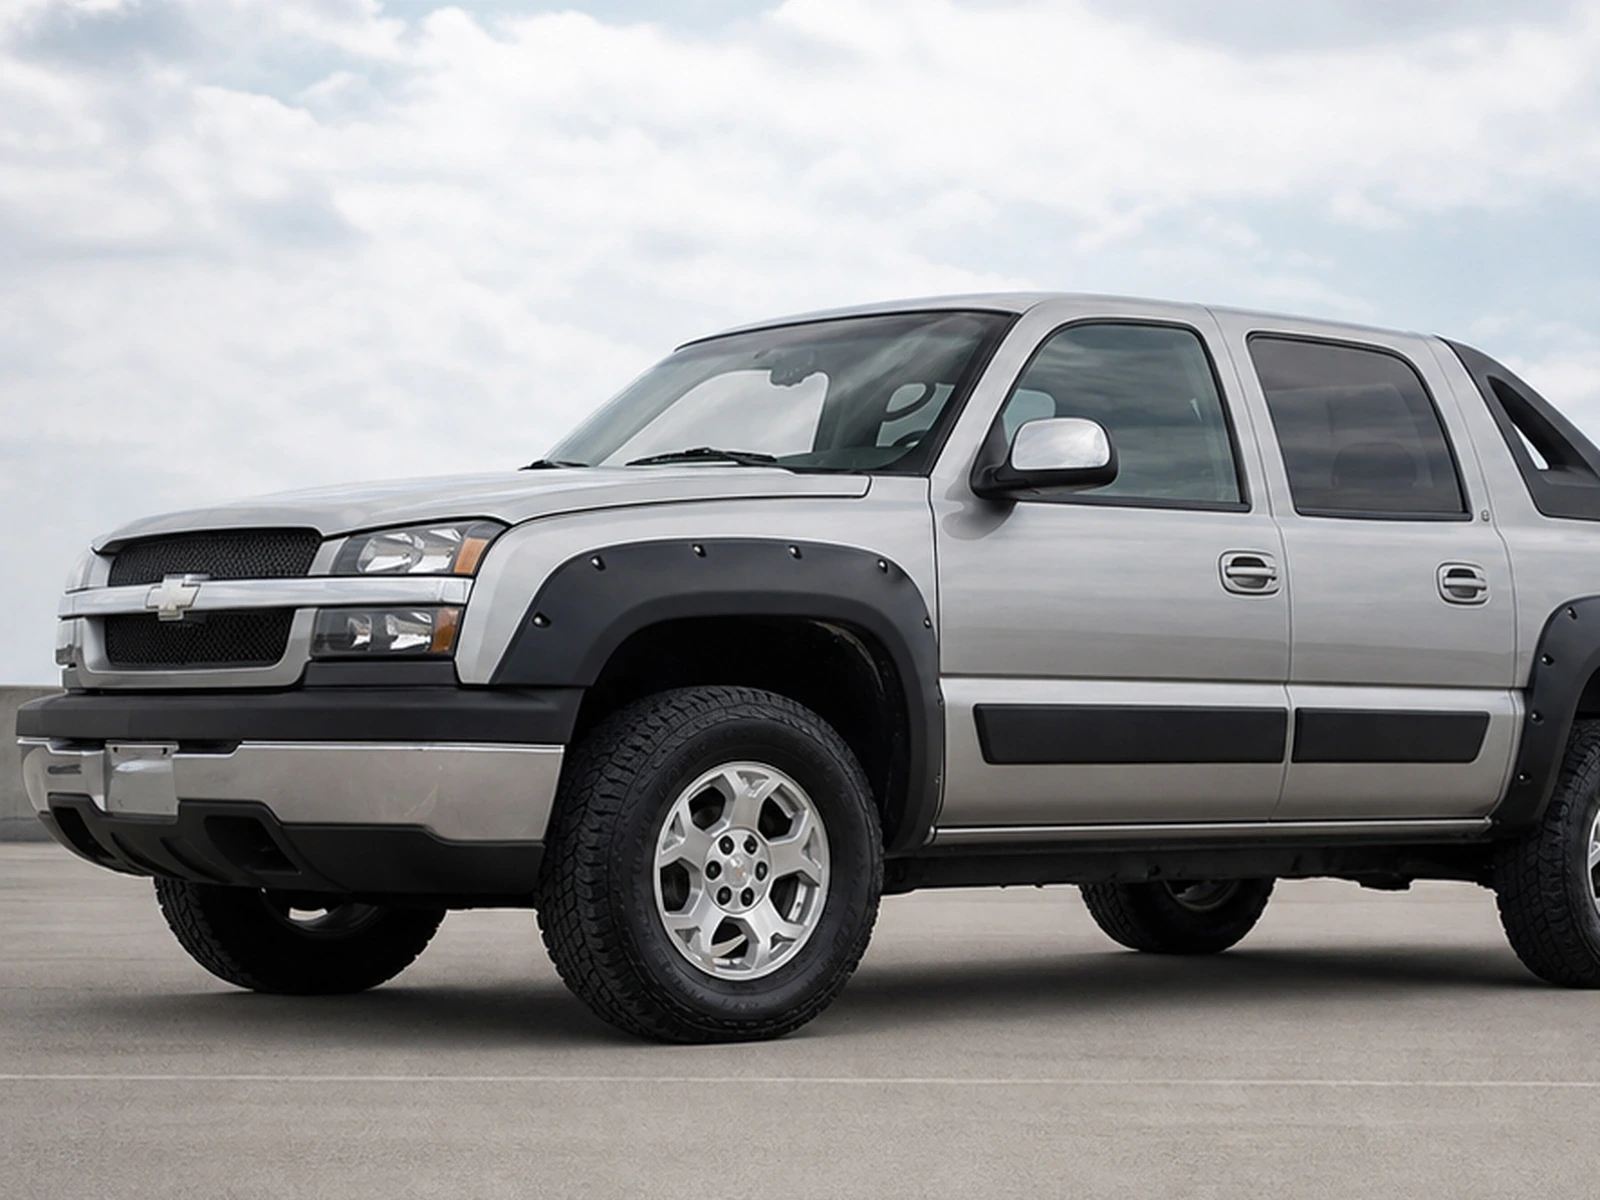
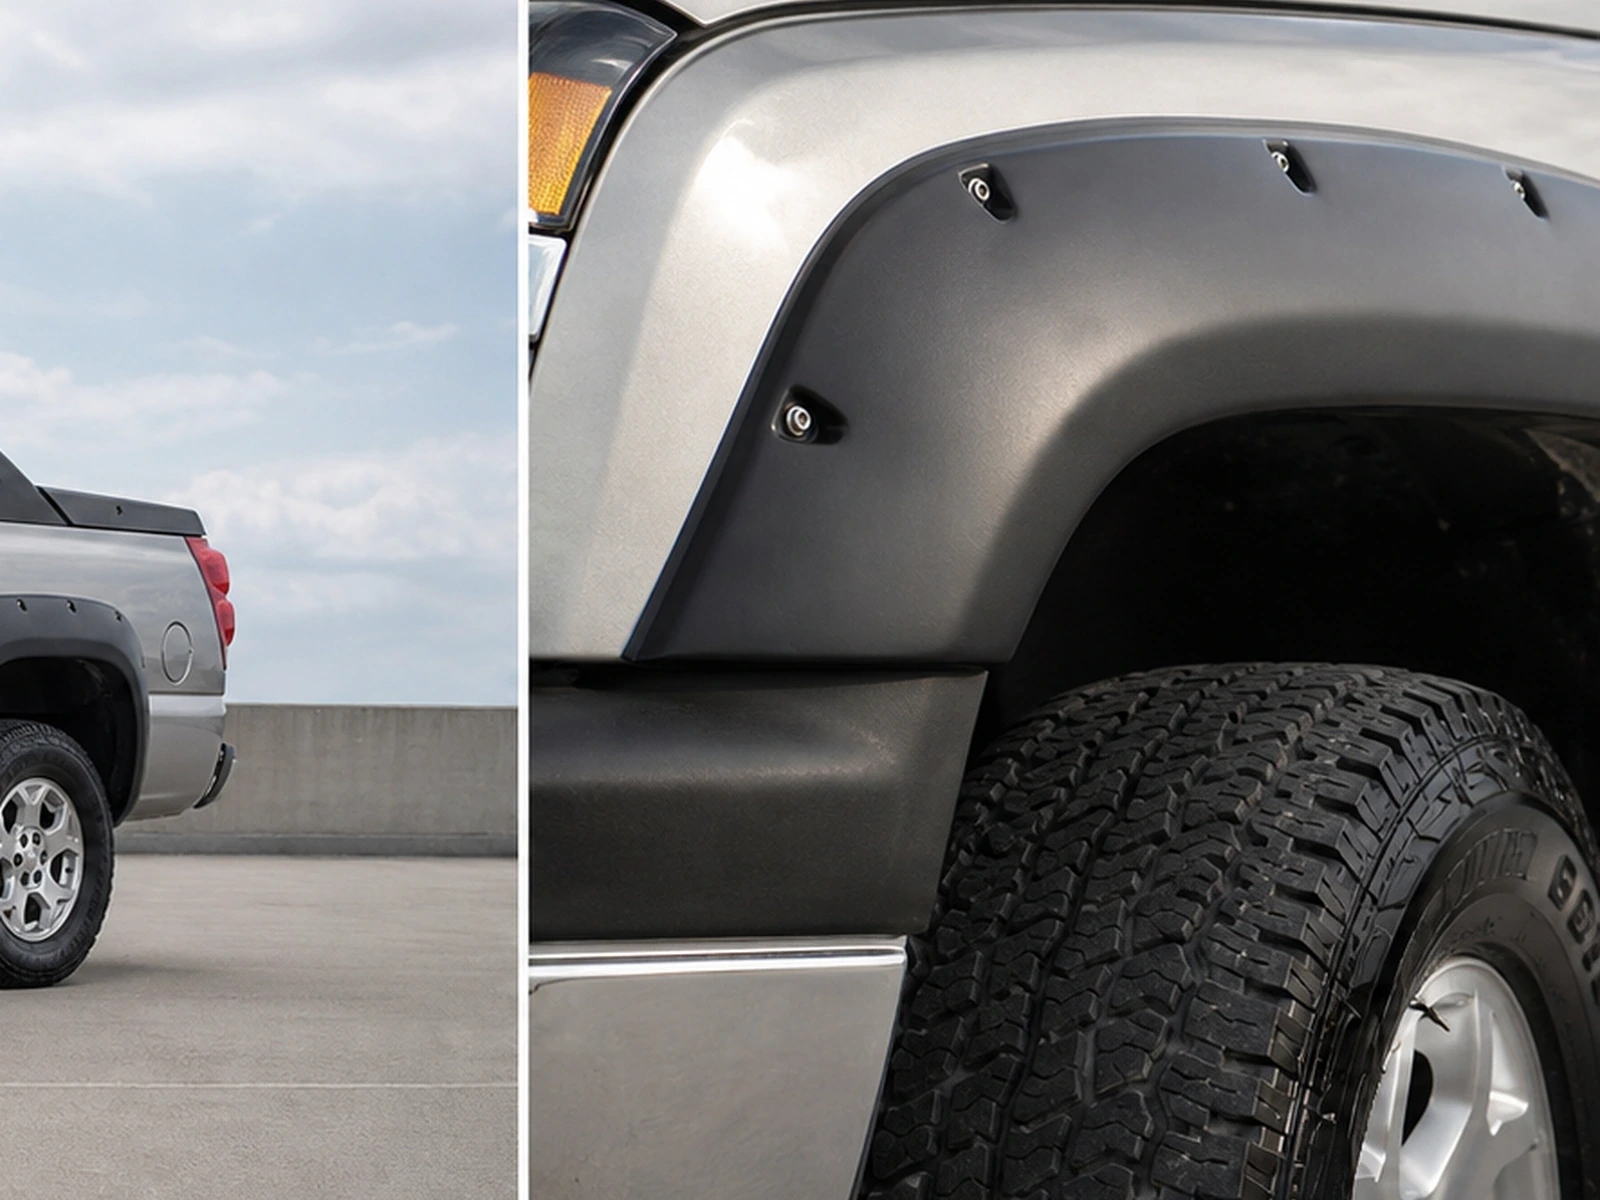
Bushwacker 40920-02 is a four-piece OE-style fender-flare set for selected 2003-2006 Chevrolet Avalanche 1500 and 2500 applications. The smooth profile is intended to resemble factory body trim rather than a pocket-style flare with exposed decorative hardware. Saved product information describes a matte-black, paintable surface, 0.75 inch of tire coverage at the front and rear, a 4-inch front flare height, and a 4.5-inch rear flare height. The material is identified as Dura-Flex 2000 with ultraviolet protection. Those details describe the flare set, but fitment remains the decisive issue: the documented application is for vehicles without body cladding. This is wheel-opening trim and added debris coverage, not body armor, a rust repair, or permission to run a tire and wheel combination that conflicts with local requirements.
Daily use and ownership
The flare's practical role is to extend the wheel-opening edge and help intercept some material thrown outward by the tires while giving the Avalanche a factory-like outline. The specified coverage is modest, so expectations should remain realistic: road spray and debris can still reach the body, especially with wider tires or altered offset. A smooth OE-style flare is easier to integrate visually than a bolt-look design, and the paintable face allows body-color or contrasting treatment when prepared correctly. It should not be used as a step, lifting point, tie-down, or handhold. On trails and narrow roads, branches or packed mud can load an edge, so inspect the attachment after contact rather than assuming flexible material makes the assembly immune to damage.
Installation and setup
Wash the wheel openings and liners thoroughly, then remove packed dirt from seams where the flare and edge treatment will sit. Confirm the body is free of cladding and test-fit every piece before installing any clip or adhesive component. Mark front, rear, left, and right; the differing listed heights show that the pieces are not interchangeable. The saved description presents this as a no-drill installation, so existing attachment locations and supplied hardware should align without inventing new holes. If they do not, stop and recheck the part number, body configuration, and piece orientation. Replace brittle wheel-liner clips rather than relying on damaged retainers, and use the supplied edge treatment so the flare does not rub directly against paint. Keep all fasteners loose until the flare is seated evenly, then tighten them in the sequence and to the level given by the instructions. Do not distort the panel to close a gap caused by cladding, body damage, or an incorrect piece. If the flares will be painted, complete the coating process with products and preparation suitable for the identified flare material, and allow the finish to cure before mounting. Recheck tire clearance through full steering travel after the front pieces are secure.
Care and maintenance
Rinse mud and road salt from the flare edges and the narrow space behind them rather than cleaning only the visible face. Trapped grit can abrade paint even when edge treatment is present. During tire rotations or wheel-well service, inspect clips, fasteners, liner contact, and the painted edge beneath each flare. Look for movement, cracking, impact marks, or a gap that has begun collecting debris. Use body-safe wash products on matte-black pieces and follow the paint system's care instructions on color-matched pieces. After branch contact or deep mud, check attachment before highway driving.
Final checks before ordering
Measure tire protrusion at all four wheel openings with the steering centred and again near full lock. Compare that result with the flare's stated 0.75-inch coverage instead of assuming any flare will contain an aggressive wheel offset. Photograph the attachment edge behind each opening and confirm that the truck has no factory cladding, hidden corrosion, bent sheet metal, or missing liner hardware. If the flares will be painted, obtain the coating instructions and complete a material-compatible test before finishing the whole set. Inventory left, right, front, and rear pieces plus every clip and fastener while the return window is still open.
Buy it when
- Choose 40920-02 for a confirmed 2003-2006 Avalanche 1500 or 2500 without body cladding when the goal is a smooth OE-style flare, modest additional tire coverage, and a paintable or matte-black finish. It is especially appropriate when all four wheel openings remain close to their original shape and attachment points are intact.
Skip it when
- Skip the set when the Avalanche has factory body cladding, when model-year or 1500/2500 fitment cannot be verified, or when altered arches and bumpers change the mounting surface. It will not repair rust, conceal poor bodywork safely, cure tire rubbing, or make an aggressive wheel offset acceptable.
Frequently asked questions
Does 40920-02 fit an Avalanche with body cladding?
No fit should be assumed. The saved application list repeatedly specifies models without body cladding, and the rebuilt catalog warns about cladding conflicts. The cladded body has a different wheel-opening interface, so do not trim or force this set around it.
Is the flare surface paintable?
Yes. The saved product description identifies a matte-black surface that can be painted. Use a coating system and preparation method suitable for the flare material, and finish the pieces before installation so the paint can reach edges evenly.
How much tire coverage does the set add?
The saved specifications state 0.75 inch at both the front and rear. That figure describes the part, not legal approval for every wheel setup. Tire width, offset, ride height, steering clearance, and local rules still require separate evaluation.
Does installation require drilling?
The saved description calls the set a no-drill installation. Test fitting and correct existing hardware should therefore come first. If the mounting points do not align, recheck the vehicle configuration and part orientation instead of creating holes to make a mismatch fit.
Related fitment guides
- Replacement Exterior Door Handle for 2003-2017 Expedition and Navigator
- GM Molded Splash Guards for 2007-2013 Chevrolet Avalanche
- Best Chevy Avalanche Bed Covers: 2002-2013 Fitment Guide
Technical reference
Application and technical details were checked against Current 40920-02 fitment record. Use the manufacturer application data and the vehicle’s own measurements as the final fitment check.