
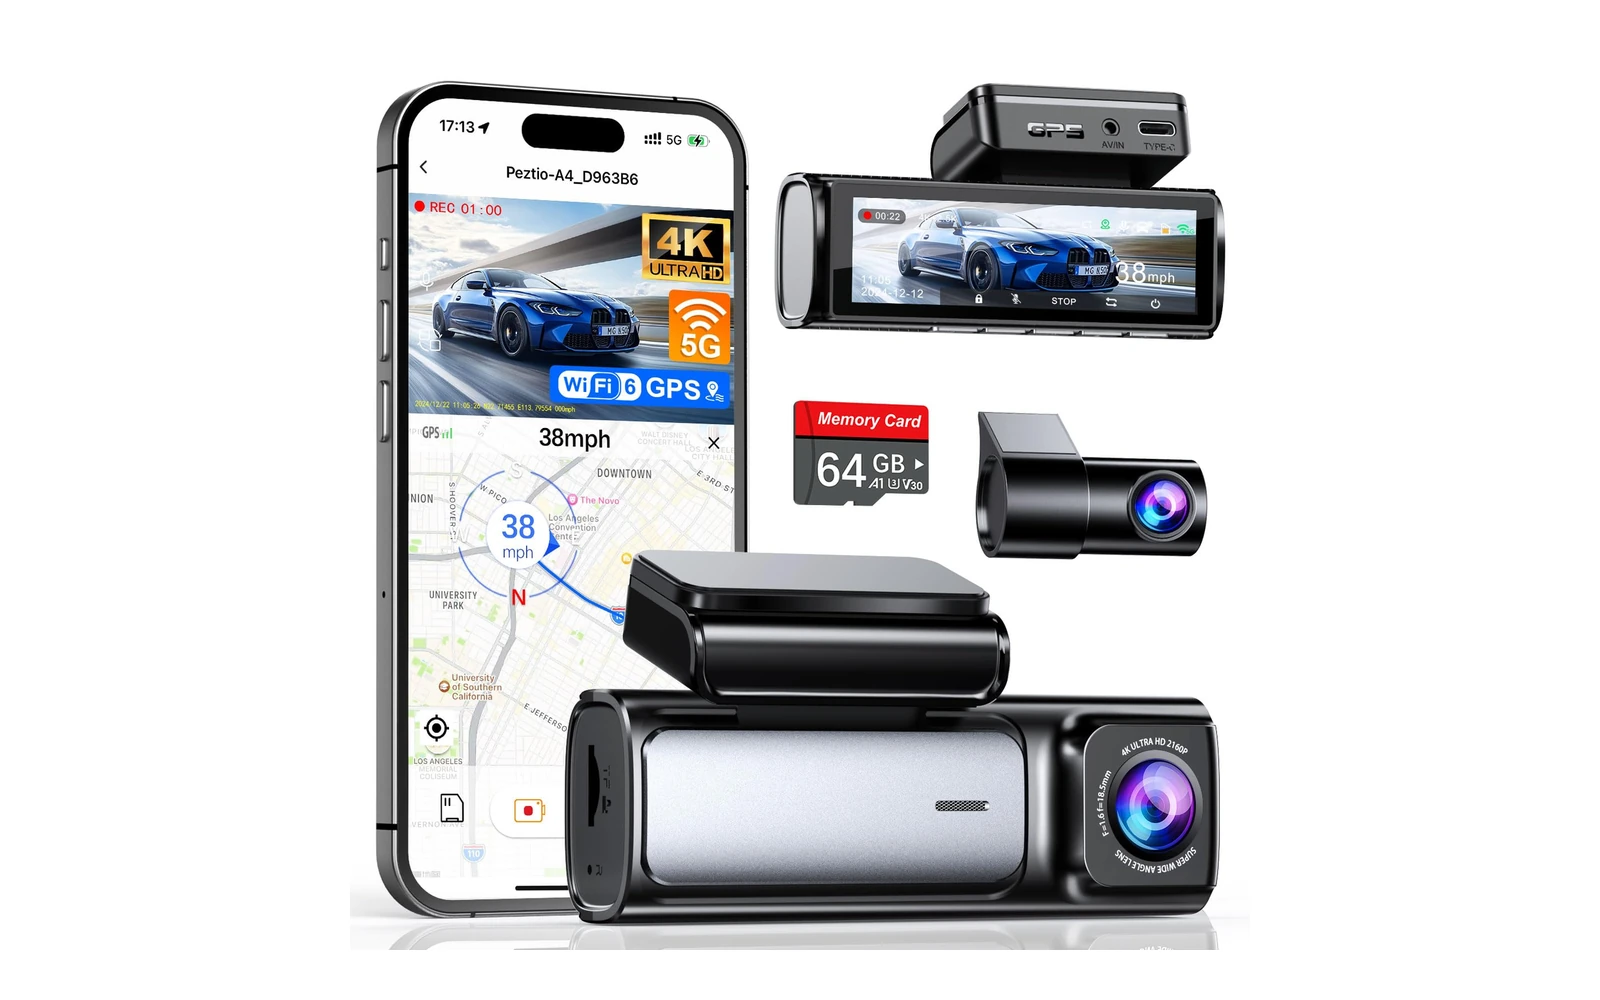
The discontinued Instant Proof 9462 is no longer a sensible recommendation. This page now reviews a current front-and-rear dash camera with 4K-class front capture, 2.5K rear capture, GPS, Wi-Fi and an included memory card.
Fitment first
What to confirm before buying
This is a universal 12-volt accessory rather than a vehicle-specific replacement part. Fitment depends on having a clear windshield location, a protected cable route to the accessory-power outlet, and a workable path for the rear-camera cable. Place the front unit where it does not obstruct the driver's view and where the lens remains inside the area cleared by the wipers. Check local rules for permitted windshield mounting locations. On vehicles with curtain airbags, the power and rear-camera cables must not cross an airbag deployment path. A pickup may require a different rear-camera strategy from a sedan because the cab, sliding rear glass, bed, and tailgate create moving joints and exposed areas. Confirm that the supplied extension cable reaches the chosen location without tension. Parking mode is a separate fitment decision: the listed low-frame-rate mode requires the dedicated Type-C hardwire kit, which is not part of the basic package.
Product at a glance
| Current product | Affver front and rear dash cam |
|---|---|
| Video | 4K-class front / 2.5K rear |
| Included features | 5 GHz Wi-Fi, GPS, 64 GB card |
| Safety functions | Loop recording and G-sensor |
How this accessory works in practice
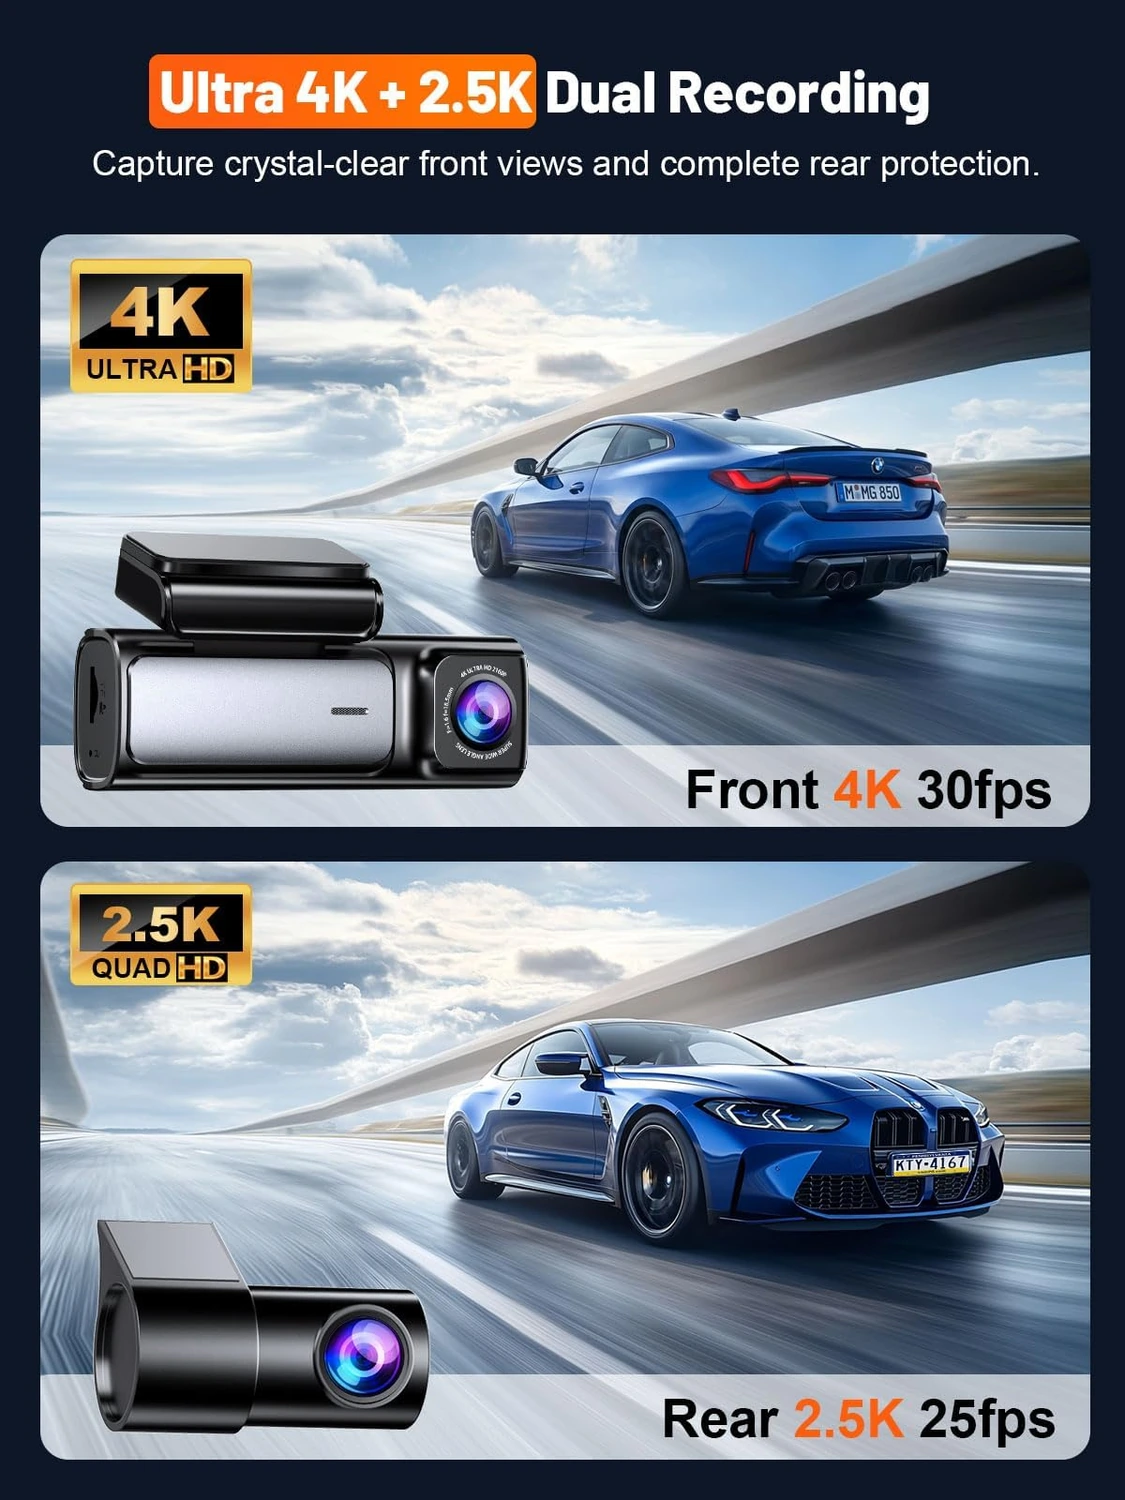
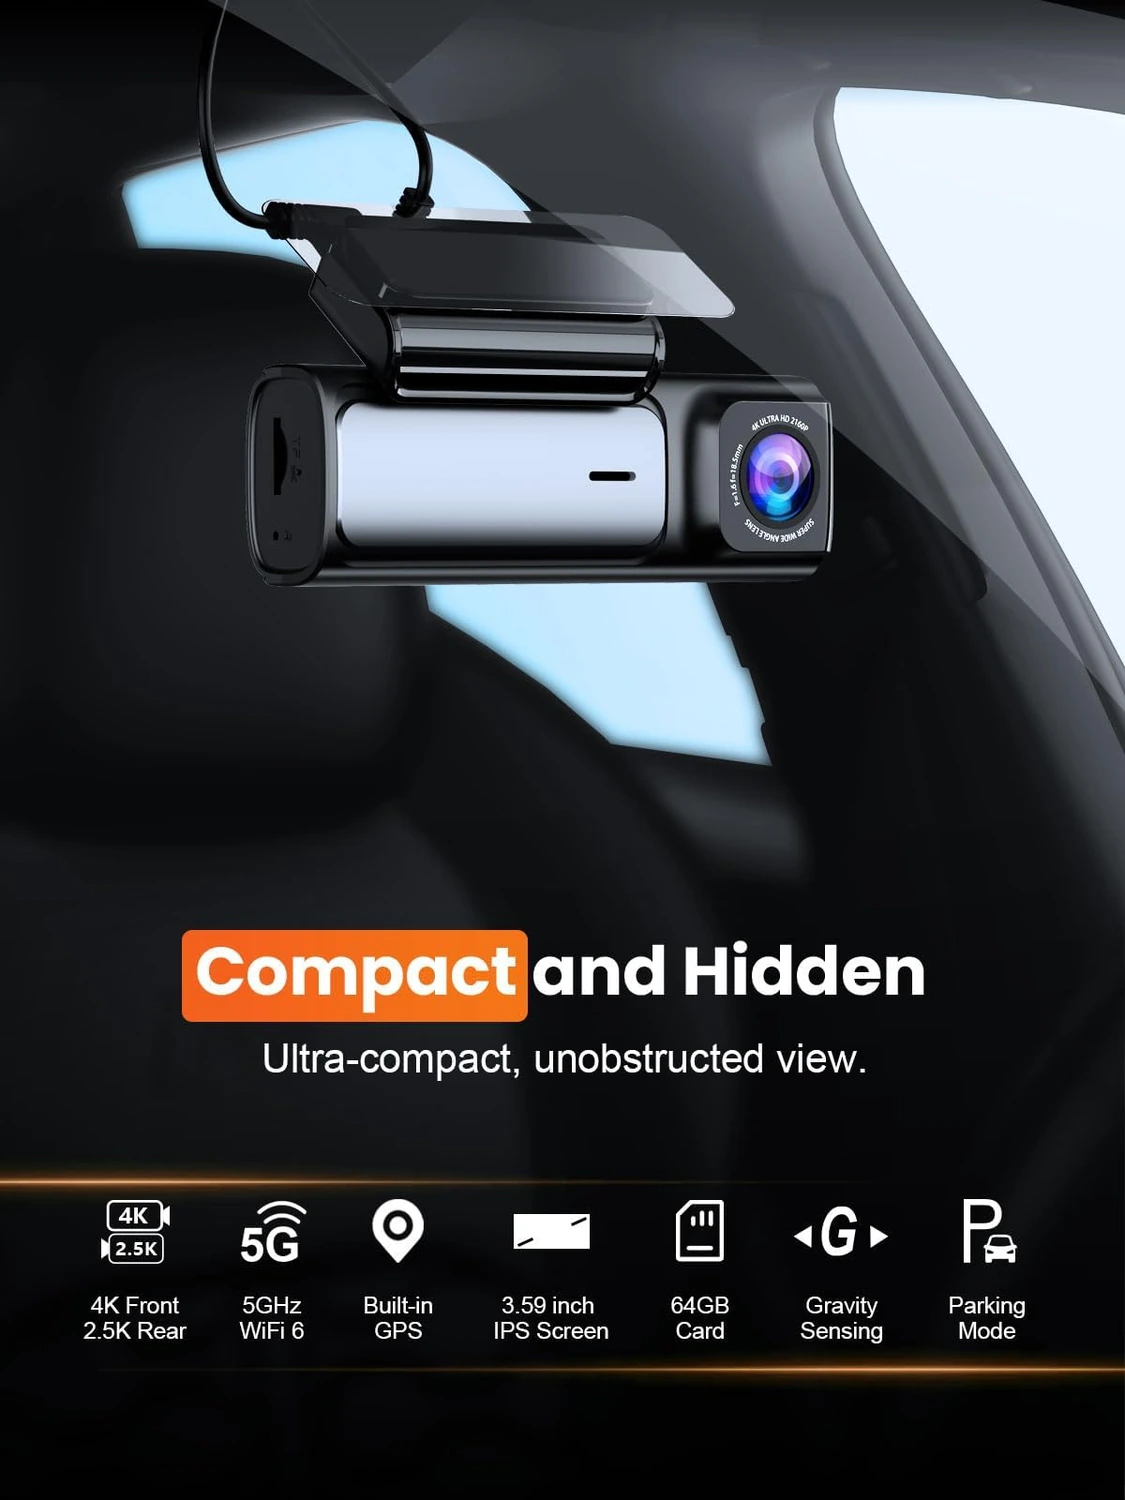
The Affver A4 is a two-channel windshield-mounted dash camera for cars, minivans, and trucks. Listed modes are 4K at 30 fps front and 2.5K at 25 fps rear, with 160-degree and 155-degree views. Documented equipment includes a 3.59-inch IPS screen, 5 GHz Wi-Fi, GPS, loop recording, a G-sensor, an included 64 GB microSD card, and support up to 256 GB. Resolution does not guarantee every plate will be readable; distance, motion, reflections, weather, angle, and exposure affect detail. Treat the camera as context around a drive, not as a substitute for attentive driving or a promise about how an insurer or court will interpret a clip.
Daily use and ownership
For routine driving, set the correct time zone, verify the GPS lock, and confirm that both channels appear on the screen before leaving. Loop recording automatically replaces older ordinary clips as the card fills. The G-sensor is designed to protect an incident clip from normal loop deletion, but the driver should still export important footage promptly rather than assume it will remain indefinitely. The phone connection is useful for reviewing and transferring clips, while the removable card provides another retrieval route. Decide whether audio recording is appropriate for the vehicle and jurisdiction. After any incident, stop safely, protect the relevant front and rear files, and preserve the original files rather than editing the only copy. Night recordings should be reviewed under the actual mounting conditions because interior reflections and an excessively tilted lens can reduce useful detail even when the camera is operating normally.
Installation and setup
Dry-fit the front camera before attaching the adhesive pad or electrostatic film. Sit in the normal driving position, check the mirror and sun-visor movement, and make sure the lens has an unobstructed road view. Clean and dry the glass, mount the camera level, then route the supplied 11.5-foot Type-C power lead along trim without pinching it. Use the included trim tool carefully and keep wiring behind trim only where it cannot interfere with airbags. Route the rear lead away from sharp metal, seat tracks, hinges, and weather seals that could crush it. Secure excess cable instead of leaving a loose loop. Install the rear camera level and check its image before final adhesion. Format the included card in the camera, select recording settings, and make a short front-and-rear test clip. A hardwire installation should use the compatible kit, an appropriate fuse location, and a sound ground. If fuse selection or airbag routing is uncertain, use a qualified installer.
Care and maintenance
Keep both lenses and the windshield area in front of them clean with materials safe for coated glass and camera lenses. Inspect adhesive mounts and cable clips after large temperature changes. Review sample clips regularly to catch a shifted angle, failed rear channel, incorrect clock, or damaged cable before the footage is needed. Follow the camera's card-formatting procedure and replace a card that produces repeated write errors or missing files. Check that locked clips are not consuming unexpected storage. For a hardwired setup, verify that parking mode enters and exits correctly and monitor battery condition according to the kit instructions. After windshield, headliner, or rear-trim work, inspect the entire cable route again.
Buy it when
- Buy this setup if you want front and rear recording, GPS context, phone-based clip transfer, an included memory card, and a screen large enough for setup without adding a separate display. It is especially sensible when the vehicle has a clean cable route and you are willing to verify recordings periodically. It also suits an owner prepared to add the specified hardwire kit for parking coverage rather than expecting that feature from the accessory socket alone.
Skip it when
- Skip it if the vehicle has no unobtrusive windshield position, if a safe rear-cable route cannot be created, or if you need a weather-exposed rear camera without confirming that this camera and its connections are intended for that location. Choose another system if you require cloud backup, a factory-integrated camera, or parking recording without additional wiring. It is also a poor choice for anyone expecting the resolution label to guarantee plate capture in every night, weather, speed, and angle combination.
Frequently asked questions
Is the included 64 GB card ready for dependable recording?
The package includes a 64 GB microSD card, but it should be formatted in the camera before use. Record and replay a test from both channels, then inspect clips periodically. The camera is listed to support up to 256 GB if a larger compatible card is needed.
Will parking mode work from the normal accessory-power plug?
The documented low-frame-rate parking mode requires the dedicated Type-C hardwire kit sold separately. A normal accessory socket often turns off with the ignition, so it should not be assumed to provide parked recording.
Where should the rear camera go in a pickup?
Use a position with a stable view and a protected cable route. A cab-glass mount avoids tailgate movement but records through the rear window. An exterior or tailgate location should be used only if the camera, connector, and routing are documented for that exposure and movement.
Does 4K front recording guarantee readable license plates?
No. The front channel has a listed 4K recording mode, but plate detail still depends on distance, relative speed, focus, exposure, glare, weather, and mounting angle. Review real clips from the installed position in daylight and darkness.
Related fitment guides
- 8 BEST WHEEL WELL LIGHTS | REVIEW AND INSTALLATION GUIDE
- PlasmaGlow Lightning Eyes LED Headlight Kit: Legacy Review
- Oracle LED Headlight Kits
Technical reference
Application and technical details were checked against NHTSA vehicle-equipment safety reference. Use the manufacturer application data and the vehicle’s own measurements as the final fitment check.