
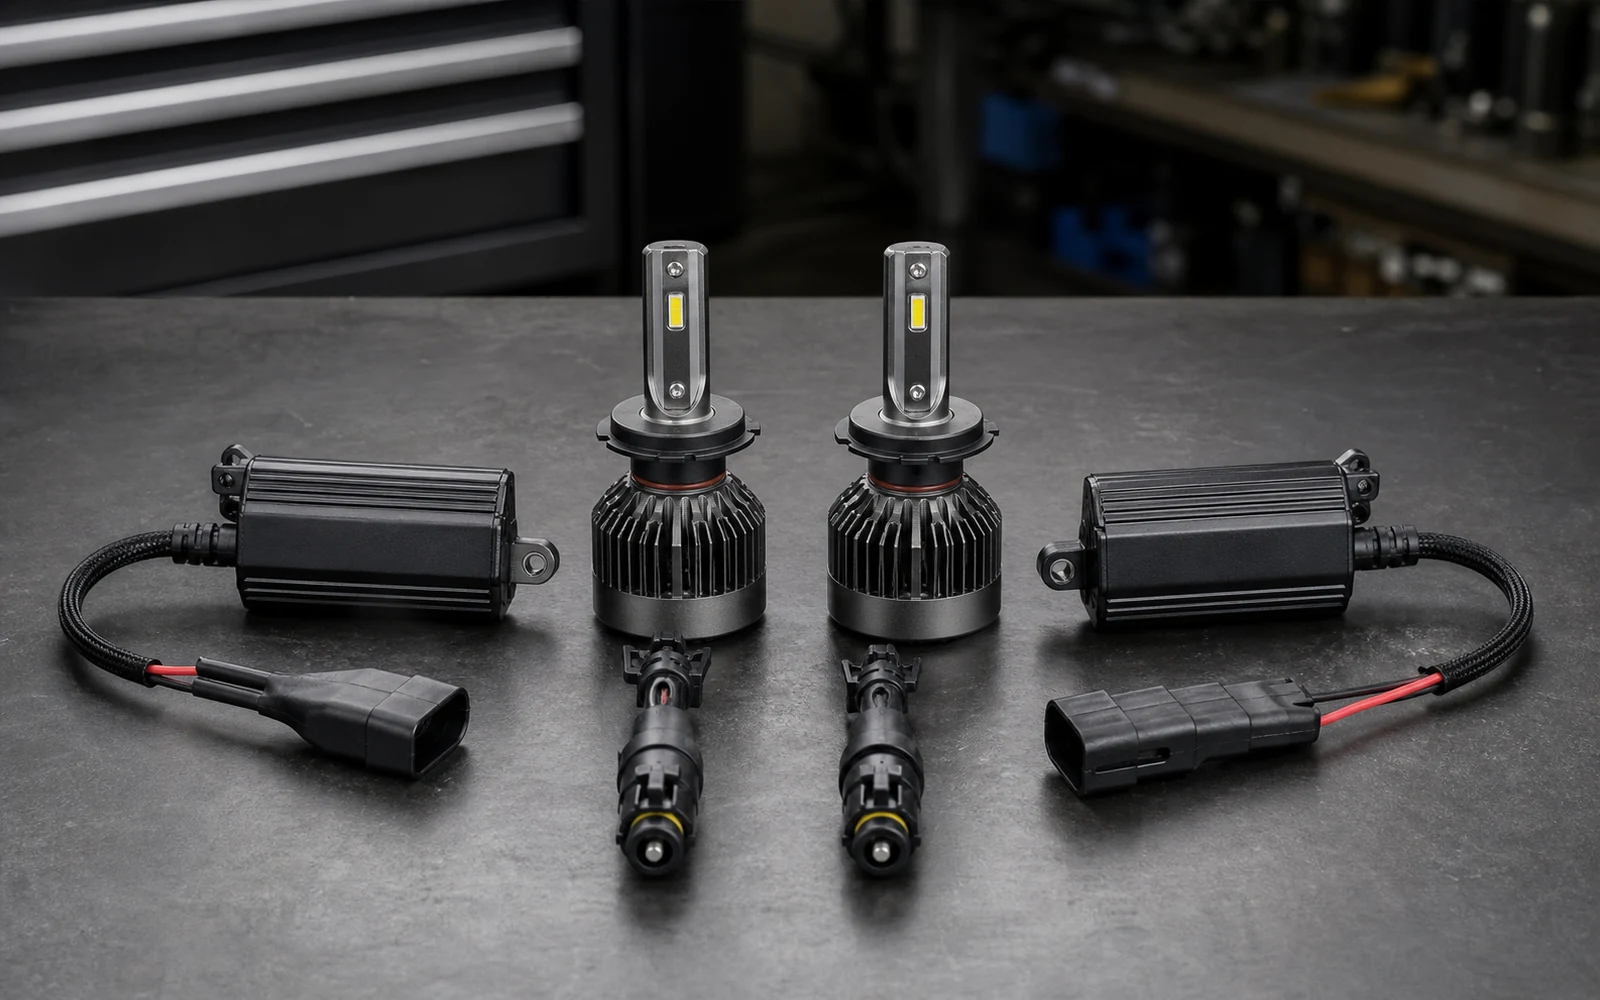
A replacement LED headlight kit should be selected by the factory bulb number, housing type, beam pattern, available dust-cap space, and road-use requirements rather than by brightness claims alone.
Fitment first
What to confirm before buying
Identify the original function first: low beam, high beam, fog lamp, or a combined dual-beam bulb. Read the bulb number from the owner's information, the installed bulb, or a reliable vehicle application record, then confirm the connector, locating tabs, seal, and electrical load. Similar-looking bases such as H10, H11, 9005, and 9006 are not interchangeable merely because they use two wires. Next inspect housing type. A halogen reflector, halogen projector, replaceable LED module, and sealed LED headlamp use different optics and service methods. Do not install a retrofit bulb in a non-serviceable LED housing. Measure rear clearance for the LED heat sink or fan, driver module, connector, and dust cap. The cap must close without crushing wires or blocking cooling. Finally, verify beam pattern and legality. The LED emitter must sit where the halogen filament was designed to sit, but physical seating alone cannot prove compliant photometry. Require any applicable on-road approval for the exact product and use, and check local rules before installation.
Product at a glance
| Accessory | LED replacement headlight kit |
|---|---|
| Required match | Factory bulb number and connector |
| Housing checks | Reflector or projector, cap depth, heat path |
| Road-use check | Beam pattern and applicable local rules |
How this accessory works in practice
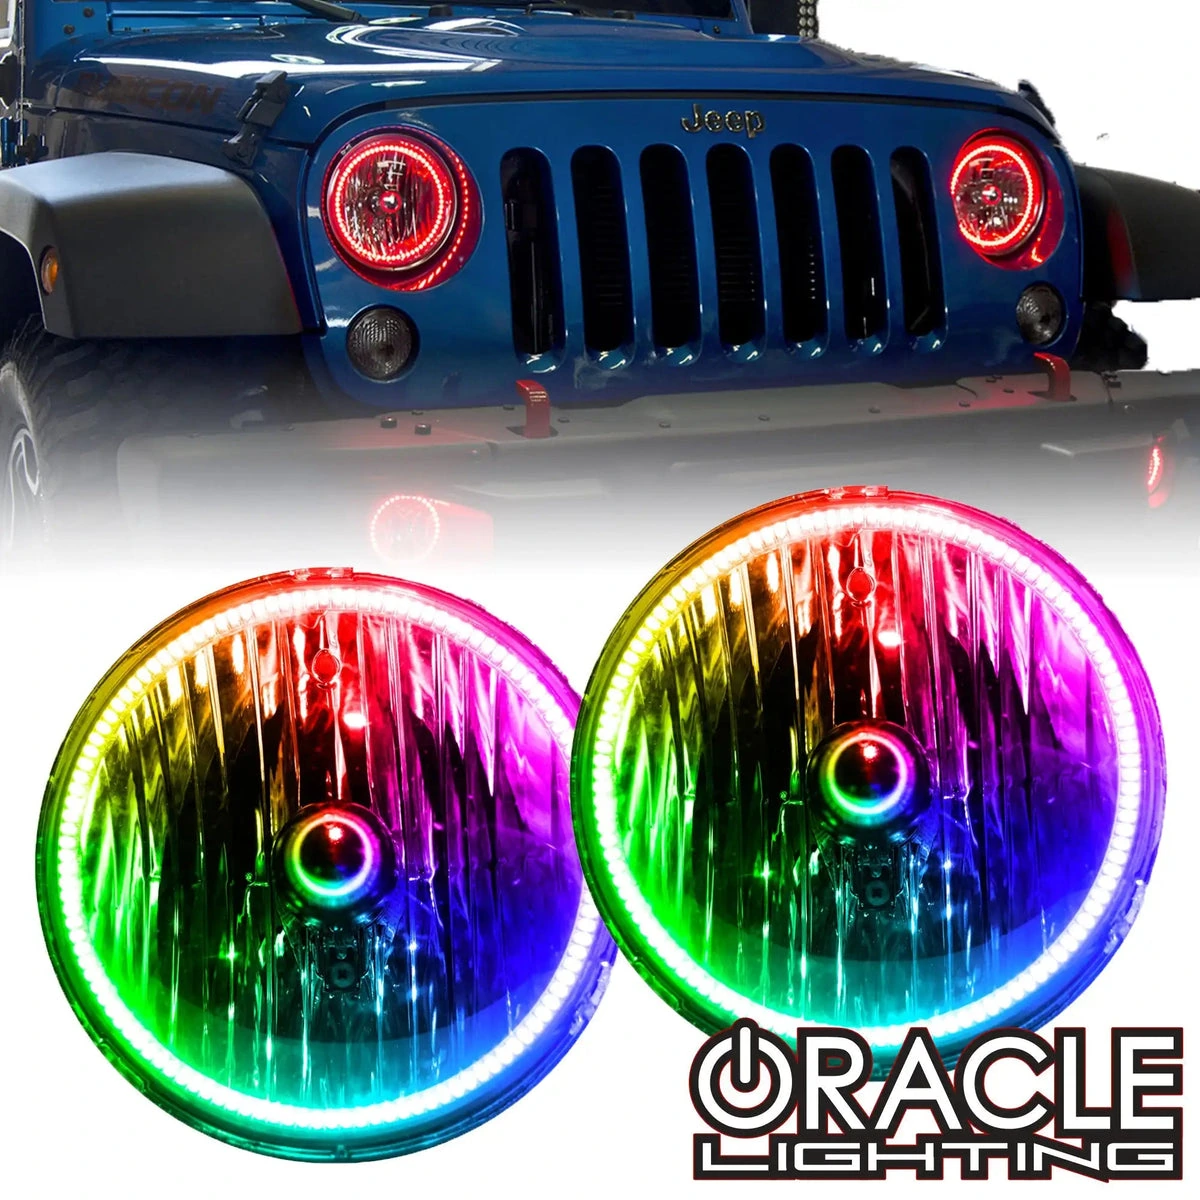
An Oracle LED headlight conversion should be selected as a vehicle-and-housing system, not from one lumen number. Archived product material describes one kit at 2,200 lumens per bulb and IP65, but those figures do not apply to every Oracle bulb size or generation. A buying decision has four gates: exact bulb type, physical housing clearance, controlled beam pattern, and legal permission for the intended road use. Failure at any gate calls for another bulb or an approved lamp assembly. The driver sees the beam created by the bulb and reflector or projector together. More source lumens do not automatically put more useful light on the road; an uncontrolled pattern can reduce visibility while adding glare.
Daily use and ownership
Evaluate a conversion in the conditions that matter: dark roads, wet pavement, traffic, low and high beam transitions, and long operating periods. Before the first drive, compare the original and converted patterns on a level wall at the same vehicle position. Look for a stable cutoff where the housing is designed to have one, a useful central hot spot, even left-right output, and no new bright scatter above the normal beam. Aim the lamps by the vehicle procedure after the bulbs are seated. During use, watch for flicker, delayed startup, dashboard bulb warnings, radio interference, fan noise, thermal dimming, or one side changing color. These symptoms point to an electrical, compatibility, cooling, or product problem rather than a need to aim around it. Keep the original working bulbs in the vehicle until the conversion has proved reliable. A retrofit should never be used to compensate for cloudy lenses, damaged reflectors, low system voltage, or incorrectly aimed housings.
Installation and setup
Disconnect lighting power as directed for the vehicle and allow the original bulb to cool. Photograph the connector and bulb orientation before removal. Compare the new base and locking tabs with the original, then seat the LED without modifying the housing. If the kit uses a rotatable collar, start with the emitter orientation specified by its instructions; do not rotate randomly to make the beam look brighter. Secure the driver module and wiring away from fans, belts, sharp edges, washer fluid, and exhaust heat. Preserve every factory seal. A dust cap that will not close is a fitment failure unless the kit documents a sealed compatible solution. Do not leave the cap off. Reconnect power, test low and high beam functions, and check for warnings with the engine running. Perform the wall-pattern comparison, aim both lamps, and take a short controlled drive. Remove the kit if it creates glare, dark gaps, unstable output, or an uncontrolled cutoff.
Care and maintenance
Keep the outer lens clean and restore or replace a badly degraded housing rather than increasing bulb output. Inspect dust caps, connectors, driver mounts, and cooling fans at normal service intervals. Moisture inside the lamp indicates a seal or vent problem that should be corrected promptly. A fan-cooled bulb needs unobstructed air space; packed dust or a failed fan can raise temperature and reduce output or life. Recheck aim after suspension changes, collision repair, heavy front or rear loading changes, or bulb removal. Replace bulbs as a matched pair when color or output becomes uneven, while retaining any still-serviceable unit only as a temporary spare. Do not use a higher fuse rating to solve repeated failures.
Buy it when
- Buy an Oracle conversion only when the exact kit matches the original bulb type and function, fits behind the dust cap with its cooling and driver hardware, produces a controlled pattern in the specific reflector or projector, and is permitted for the intended road use. It is a sensible candidate when the housing is clear and undamaged, the electrical system is healthy, and the owner is prepared to aim and inspect the lamps after installation rather than judging them from color alone.
Skip it when
- Skip a conversion when the seller cannot identify the exact bulb base, when the vehicle uses a sealed or non-serviceable LED lamp, when the heat sink or driver prevents the dust cap from closing, or when the beam develops glare and dark zones. Choose an approved complete headlamp or a quality halogen replacement if no retrofit has documented on-road status for the application. Also skip it when cloudy lenses, damaged optics, poor grounds, or low charging voltage are the real cause of weak lighting.
Frequently asked questions
Is the bulb number the only fitment check needed?
No. The base and connector must match, but the heat sink, fan, driver, wiring, and dust cap also need physical space. The housing optics must form a controlled beam, and the exact product must be legal for the intended use.
Will a higher lumen rating always improve road visibility?
No. Useful visibility depends on where the housing places the light. A high source rating can still create foreground glare, dark gaps, or scatter if the LED emitter does not match the reflector or projector geometry.
Can the dust cap be removed to make an LED bulb fit?
Do not leave it off. The cap helps protect the housing from dust and moisture. If the complete kit cannot fit while preserving the required seal and cooling space, treat that as an incompatible installation unless a documented sealed solution is provided.
How can the beam pattern be checked after installation?
Park on level ground facing a flat wall, mark the original beam position, and compare the conversion from the same distance and loading condition. Check cutoff, hot spot, symmetry, and stray light, then aim by the vehicle procedure. Remove the kit if control cannot be restored.
Related fitment guides
- PlasmaGlow Lightning Eyes LED Headlight Kit: Legacy Review
- Heise H10 Pro LED Conversion Kit: 16,000-Lumen Review
- THE DUMP BED KIT GUIDE: BEST PICKUP DUMP BED KITS YOU EVER FIND
Technical reference
Application and technical details were checked against Oracle Lighting LED headlight-bulb catalog. Use the manufacturer application data and the vehicle’s own measurements as the final fitment check.