
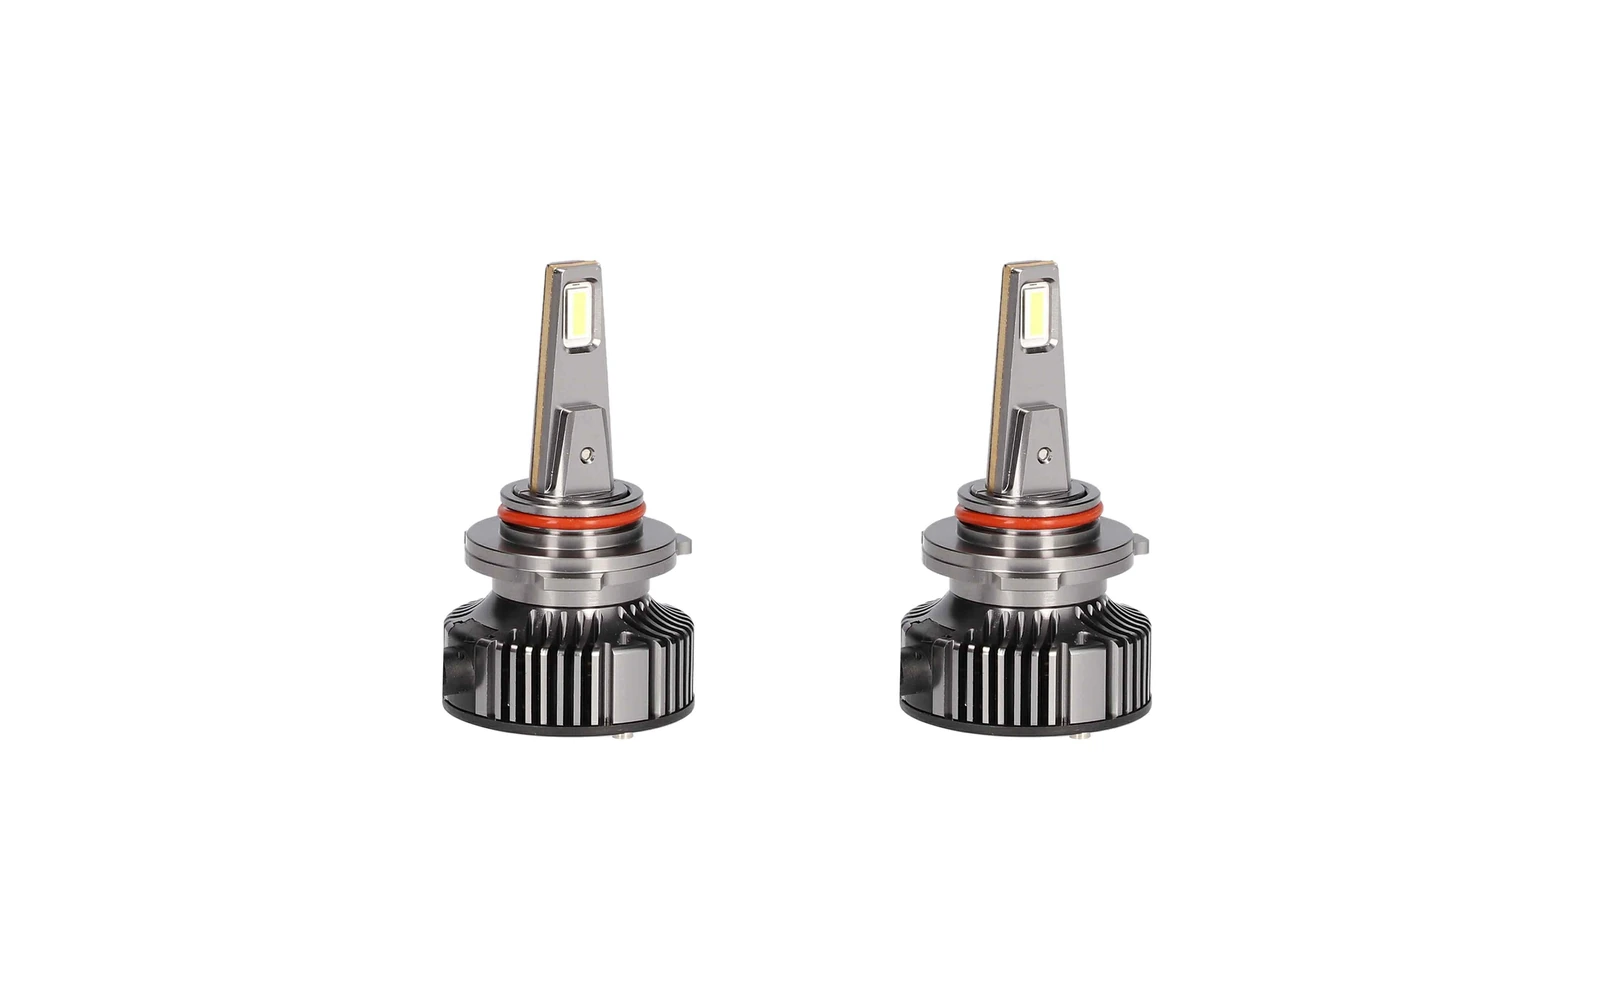
The old PlasmaGlow Pro Series kit is no longer the strongest current choice. The Heise H10 Pro is a modern single-beam conversion kit with an active cooling system and a clearly identified H10 application.
Fitment first
What to confirm before buying
Bulb type comes first. Confirm that the original replaceable source is H10 and determine whether that H10 serves a fog lamp, auxiliary lamp, or another single-beam function on the specific vehicle. An H10 single-beam kit cannot provide both low and high beam where one dual-beam bulb is required. Compare locating tabs, connector, polarity, and seal. Next check housing clearance for the bulb body, side cable, fan, driver hardware, and wiring. The dust cap or rear cover must close without touching the fan or crushing the lead. A universal label does not justify cutting the cap. Then assess housing optics. The rotatable collar can align the emitters, but it cannot guarantee that a reflector or projector designed around a halogen filament will create a controlled pattern. Inspect cutoff, hot spot, foreground light, and stray glare after seating and aiming. Finally, apply the legality limit: because the product description states off-road use only, keep it out of public-road headlamp service regardless of brightness claims.
Product at a glance
| Current product | Heise H10 Pro Series |
|---|---|
| Output claim | 16,000 lumens per kit |
| Power | 70 W |
| Color temperature | 6000 K |
How this accessory works in practice
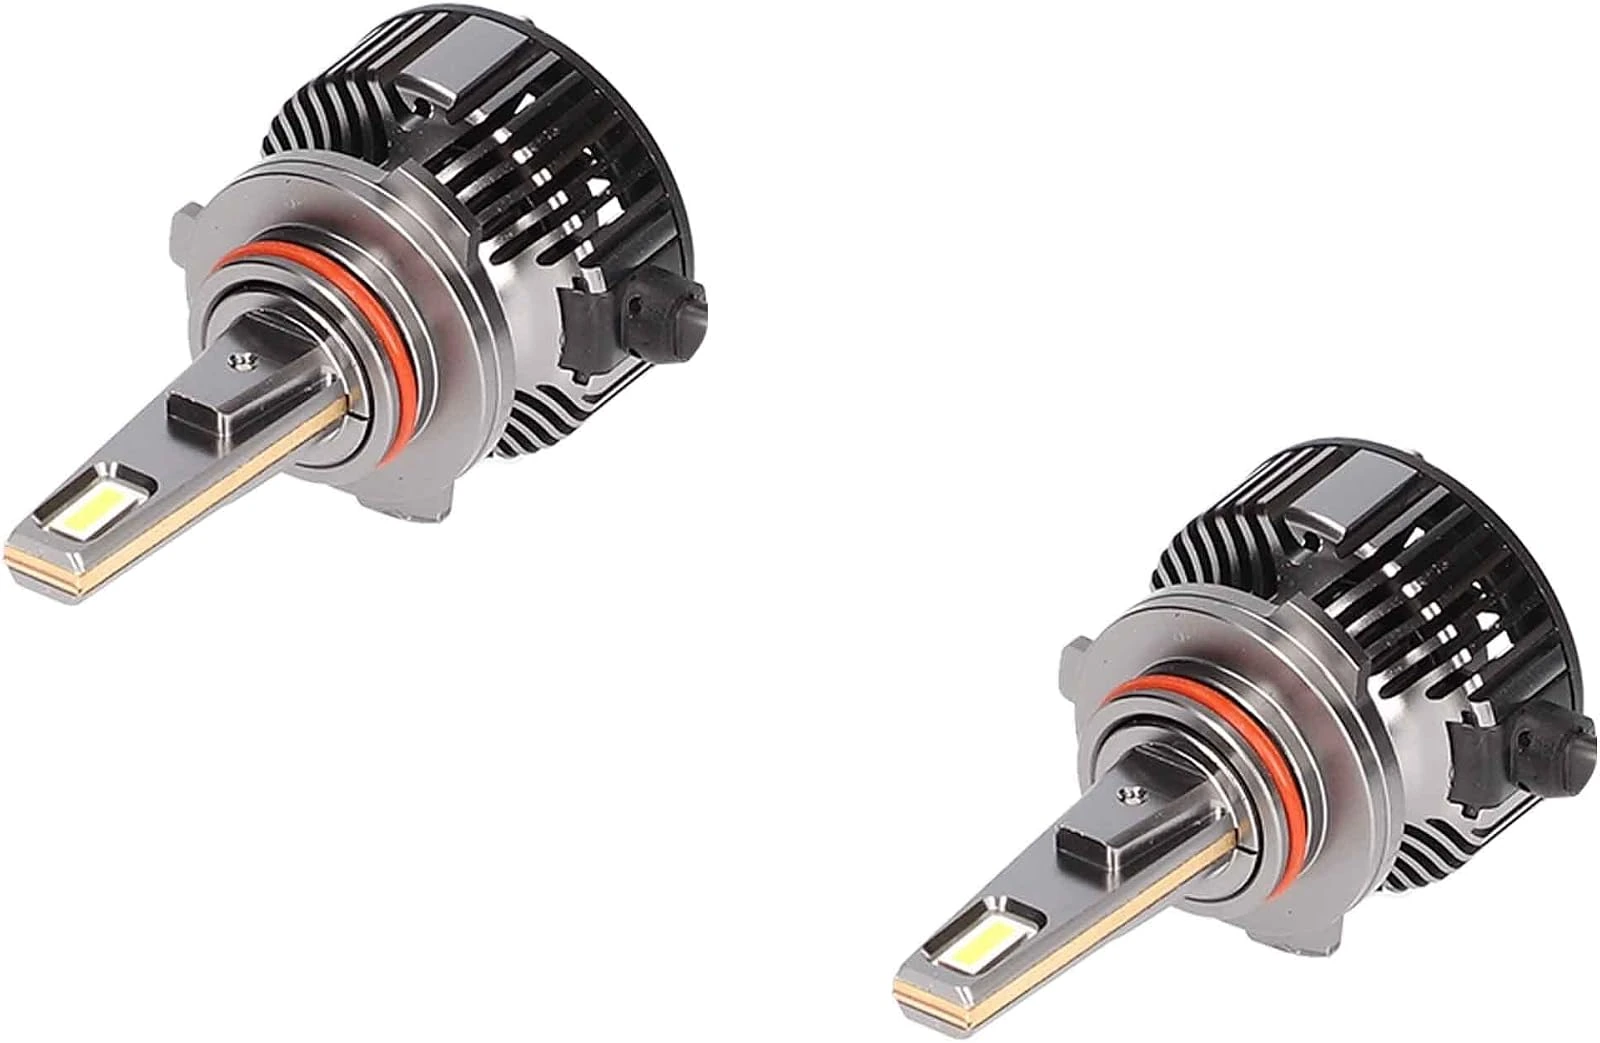
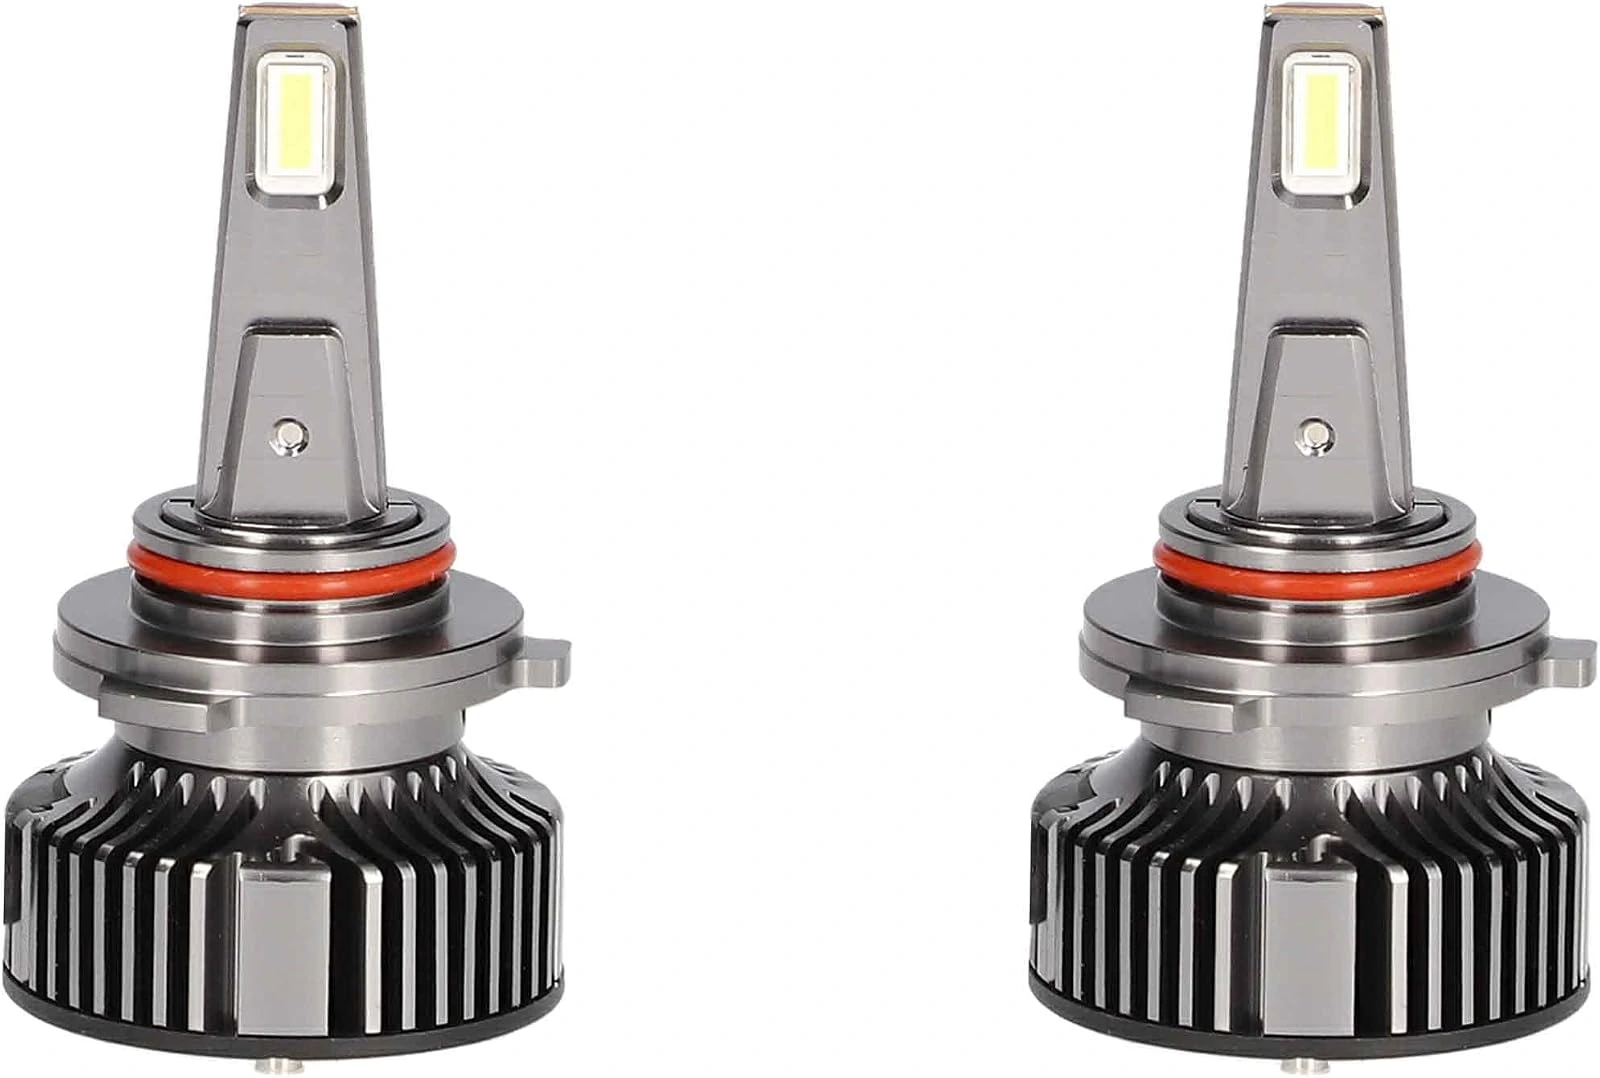
The Heise by Metra H10 Pro Series kit, identified as HE-H10PRO or HEH10PRO, is an LED conversion for an H10 single-beam application. The listed package rating is 16,000 lumens total, 70 watts per set, and 6000 K. Construction details include an all-metal body, copper thermal core, active cooling fan, thermal controller, rotatable collar, reverse-polarity protection, and an EMI filter. Those are product specifications, not proof that the kit will improve every H10 lamp. The description also identifies the kit for off-road use only, which is the controlling legality warning for this review. It should not be promoted as an on-road headlight upgrade. The product's universal-fit label means it is not tied to one vehicle listing; it does not mean it fits every bulb socket, every H10 housing, or every reflector and projector without physical and optical checks.
Daily use and ownership
Use the kit only in the off-road or controlled setting allowed for the vehicle and location. Check both lamps before each night session because a failed fan, loose connector, or shifted collar can change output. Full output is listed as immediate, but visual brightness should not be confused with a useful beam. A broad foreground pool may look impressive while reducing distance vision, and stray light can reflect from dust, rain, or fog. Watch for flicker, warning messages, radio noise, fan sound, thermal dimming, color mismatch, or one side intermittently shutting down. Reverse-polarity protection and an EMI filter are useful design features, but they do not eliminate every compatibility issue with module-controlled or pulse-width-modulated circuits. Stop using the kit if the pattern is unstable, if the fan cannot run freely, or if wiring becomes hot. Retain the original bulbs so the vehicle can be returned to its documented road-lighting configuration.
Installation and setup
Work with the lamps switched off and cool. Record the original bulb orientation and make a baseline wall pattern on level ground. Remove the H10 bulb without damaging the socket or seal, compare the bases, and lock the LED collar fully into the housing. Set emitter orientation according to the Heise instructions, using the rotatable collar only for the documented adjustment. Do not force the bulb against a reflector shield or projector hardware. Arrange the side cable and any driver hardware so they cannot contact the fan, cap, sharp metal, belt drive, or hot engine parts. Restore the dust cap only if it seals normally and leaves cooling clearance. Test polarity, startup, and warning behavior with the engine off and running. Compare the new wall pattern with the baseline, check both sides for symmetry, and aim by the vehicle procedure. Because the kit is described as off-road only, reinstall the road-legal lighting before public-road operation.
Care and maintenance
Inspect cooling inlets, fan operation, connectors, seals, and driver mounts. Dust or debris around the fan can reduce airflow, while a loose lead can enter the fan path. Keep the lamp housing dry; condensation after installation points to a disturbed cap, seal, or vent. Recheck collar lock and beam orientation after rough off-road travel. Clean outer lenses and repair cloudy or damaged housings rather than compensating with greater output. If a fuse opens, diagnose the circuit and use only the specified fuse rating. If radio interference, repeated warnings, or flicker begins, return to the original bulb to separate a kit issue from a vehicle wiring problem. Replace damaged components rather than bypassing the thermal controller or protection features.
Buy it when
- Buy this kit only for a confirmed H10 single-beam off-road application with enough rear housing clearance, a restorable dust seal, and a reflector or projector that produces a controlled pattern after correct emitter alignment. It suits a builder who values the listed metal construction, active cooling, and adjustable collar and who can retain a compliant road-lighting setup for public travel.
Skip it when
- Skip it for any non-H10 socket, dual-beam requirement, sealed factory LED headlamp, shallow housing that blocks the cap or fan, or lamp that creates glare and dark zones with the LED emitters. It is not the right choice for a public-road headlight conversion because the product description specifies off-road use only. Also avoid it when the original problem is cloudy lenses, poor grounds, damaged optics, or low voltage.
Frequently asked questions
Can the H10 Pro replace any single-beam bulb?
No. It is specifically an H10-base kit. Other single-beam bulbs can have different locating tabs, connectors, seals, focal positions, and electrical requirements even when their general shape looks similar.
Does the rotatable collar guarantee a correct beam pattern?
No. The collar helps orient the emitters, but the housing optics still determine the result. Check cutoff, hot spot, symmetry, and stray light on a wall, then aim by the vehicle procedure. Remove the kit if control cannot be achieved.
Can the kit be used as an on-road headlight if the beam looks acceptable?
The product description states off-road use only. A visually acceptable wall pattern does not override that designation or establish legal approval, so the vehicle should use its compliant lighting configuration on public roads.
What clearance is required behind the H10 housing?
There must be room for the complete bulb body, active fan, side cable, connector, and any driver hardware while the dust cap closes normally. Nothing should touch the fan, crush wiring, or obstruct cooling. If the cap cannot seal, the fit is not acceptable.
Related fitment guides
- PlasmaGlow Lightning Eyes LED Headlight Kit: Legacy Review
- Oracle LED Headlight Kits
- THE DUMP BED KIT GUIDE: BEST PICKUP DUMP BED KITS YOU EVER FIND
Technical reference
Application and technical details were checked against Automotive LED installation guidance. Use the manufacturer application data and the vehicle’s own measurements as the final fitment check.